Everything you need to know before you start, plus how to get set up in minutes
What Is LeadVix?
LeadVix is a CRM platform built for small and growing businesses who are tired of managing leads through spreadsheets, sticky notes, and overflowing inboxes.
In simple terms, LeadVix helps you:
- Keep all your leads organised in one place
- Send emails to those leads automatically
- Let AI read replies and respond on your behalf
- Track which leads are interested, which aren’t, and which need a follow-up
- Run email campaigns without doing everything manually
If your team spends more time chasing leads than actually closing them, LeadVix is built to fix that.
Who Is LeadVix For?
LeadVix works for any team that manages client relationships or outreach. This includes:
1. Sales Teams
Trying to hit monthly goals, but without drowning in those manual follow ups.
2. Recruitment Agencies
Keeping candidates, plus client pipelines moving at the same time, so nothing ends up slipping through, even on the busiest weeks.
3. Marketing Agencies
Coordinating outreach across several accounts all at once, from a single organised place, instead of juggling a bunch of scattered tools.
4. Consultants
Staying top of mind with prospects over longer sales cycles without constant manual nudging.
5. Startups
Pushing high volume outreach with a small yet ambitious squad, and zero wasted effort.
6. Real Estate Professionals
Monitoring buyers and sellers across relationship centered timelines where the schedule is basically everything.
7. Customer Success Teams
Keeping clients engaged, informed, and satisfied long after the deal is closed.
If your work involves sending emails, following up, and tracking who’s interested, LeadVix is for you.
Before You Begin — Concepts Worth Knowing
Before you log in for the first time, here are the key terms you’ll keep seeing all over inside LeadVix. If you grasp them right away, everything else becomes, way easier.
1. Leads:
A lead is any person or company you want to reach out to. Think of leads as contacts people whose details you import into the platform and then communicate with through campaigns.
2. Pipeline:
Your pipeline is a visual board that shows where every lead is in your process. Leads move from left to right across stages from first contact all the way to closed deal or closed lost. It works like a Kanban board.
3. Campaign:
A campaign is when you take a group of leads and send them an email either manually or using an AI-generated template. You can run campaigns by industry, by lead group, or by any filter you choose.
4. AI Email Assistant:
This is the brain of LeadVix. Once you upload your company’s Knowledge Base, the AI reads every incoming reply, figures out what the lead means, and suggests a response. You review it and approve before anything sends.
5. Knowledge Base:
Your Knowledge Base is a document that tells the AI everything about your company, your products, services, pricing, FAQs, tone of voice, and how you typically respond to common questions. The better your Knowledge Base, the smarter the AI replies.
6. Auto Send:
A setting that decides if the AI shoots replies out automatically or if it waits for your “Ok” first. If you are new to the platform, you should always begin with manual approval, so you can double-check what goes out before anything gets sent.
7. SendGrid:
The email delivery service that powers all outbound emails from LeadVix. You need a free SendGrid account connected before you can send anything.
⚠️ Please Note: SendGrid is a third-party service and is not owned, operated, or affiliated with LeadVix in any way. Its pricing, plans, and features are managed entirely by SendGrid and are subject to change without notice. LeadVix has no control over any updates, pricing changes, or policy changes made by SendGrid. Any costs associated with your SendGrid account are separate from your LeadVix subscription.
8. IMAP
The email receiving setup that lets LeadVix pull in replies from leads. Without IMAP configured, you won’t see replies inside the platform.
9. Webhook:
A connection between SendGrid and LeadVix that sort of reports back on what happened to each and every email you sent, like delivered, opened clicked, bounced, or just marked as spam.
How LeadVix Works — The Full Flow in Simple Steps
Here’s the whole picture of how the platform moves, from start to finish. Don’t worry about doing any of this yet, just read through it once so you get the idea of the journey before you start.
1. Register and set up your account: Create your LeadVix account, verify your email, then log in. The system will guide you right into Settings.
2. Connect SendGrid: Get your SendGrid account ready, and link it to LeadVix so the platform can send messages on your behalf, pretty smoothly.
3. Set up IMAP: Configure your email inbox so LeadVix can read and receive replies that come back from your leads, instead of missing them.
4. Configure General Settings: Add your company details, set your sender name, choose your Auto Send preference, and upload your Knowledge Base document.
5. Import your leads: Upload your lead data from an Excel file. LeadVix automatically checks for duplicates, missing fields, and invalid records.
6. Create an email template: Write one yourself or let the AI generate one based on your industry and campaign goal.
7. Run a campaign: Select your industry, choose your leads, pick your template, and hit Run. LeadVix handles the rest.
8. AI reads the replies: As leads reply, the AI classifies each response and drafts a reply for you to review and approve.
9. Track everything: Monitor your campaign performance from the Dashboard and Reports section: open rates, replies, success scores, and more.
That’s the complete LeadVix workflow. Steps 2, 3, and 4 are one-time setup tasks. Everything after that is your regular day-to-day.
How to Create Your LeadVix Account
Now that you know what LeadVix is and how it works, let’s get you set up. The registration process takes less than 2 minutes.
Step 1 — Go to the LeadVix Website
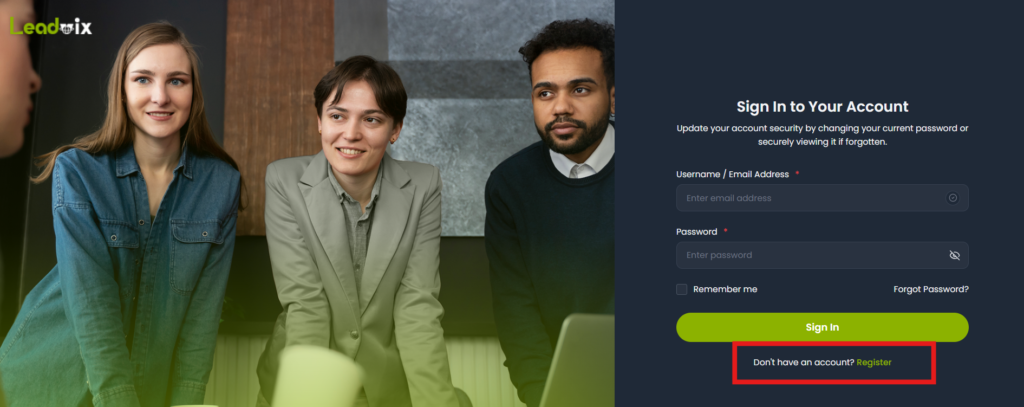
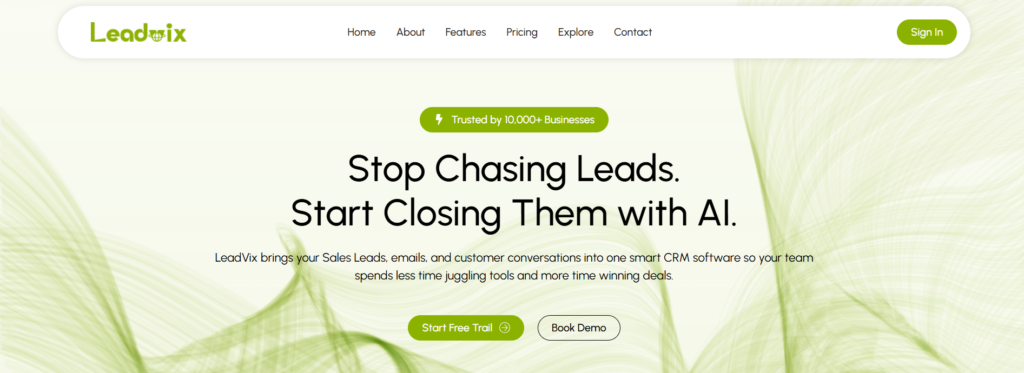
If you’re ready to get started, click Start Free Trial to open the login page where you have the option to “Register”.
If you’d like to see the platform in action first, click Book Demo to schedule a walkthrough with the LeadVix team.
Step 2 — Fill In Your Details
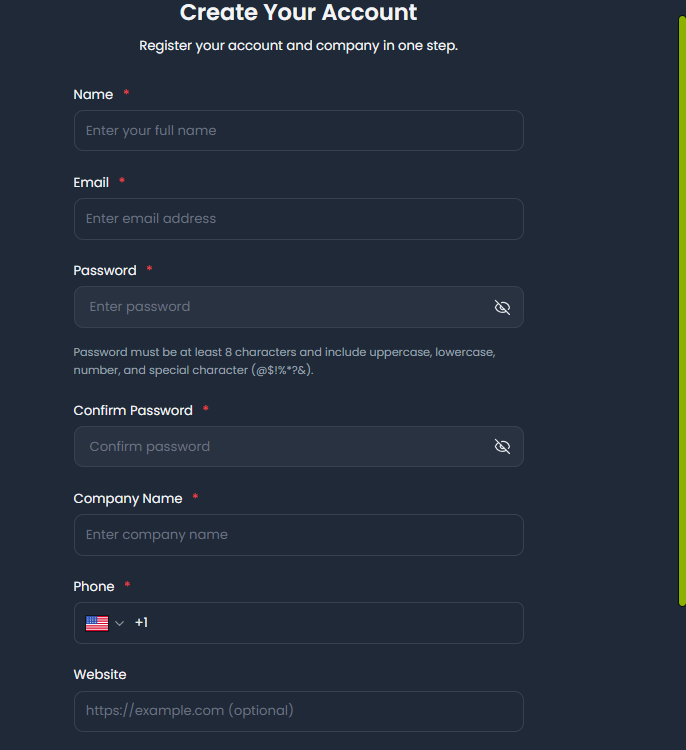
The registration form asks for the following:
| Field | What to Enter |
| First Name | Your first name |
| Last Name | Your last name |
| Email Address | Your business email — this becomes your login |
| Password | A strong password meeting the requirements shown |
| Confirm Password | Same password again |
| Company Name | Your company or organisation name |
| Phone Number | Select your country code and enter your number |
| Website | Your company website (optional but recommended) |
| Company Category | Select the industry your business is in |
| Country | Your country |
| State | Your state or province |
| City | Your city |
💡Tip: Use your business email address, not some personal Gmail or Yahoo. The email is how LeadVix sort of identifies your company, and it’s kind of important later too when you’re setting up email sending; Messages coming from business addresses are typically much less likely to end up in spam.
💡Tip: Add your website even though it’s optional. The AI uses company information to personalise outreach, and having your website on file helps.
Step 3 — Click Register
Once all the required fields are filled in, click the Register button. LeadVix will create your account and ask you to verify your email address before you can log in.
Step 4 — Verify Your Email
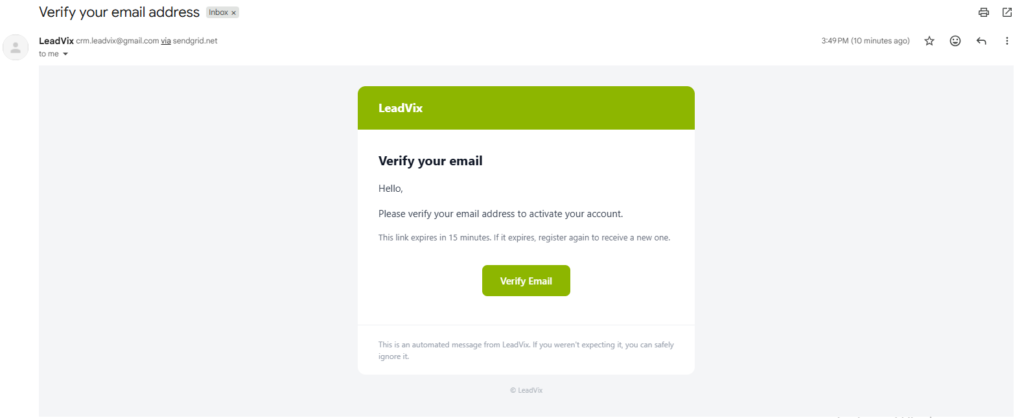
Open your email inbox and look for a verification email from LeadVix. Click the Verify button or link inside that email.
💡 Tip: If the email doesn’t arrive within a couple of minutes, check your spam or junk folder. It sometimes lands there on the first send.
⚠️ Important: Make sure you click the most recent verification email if you requested more than one. Older verification links expire.
Step 5 — Log In
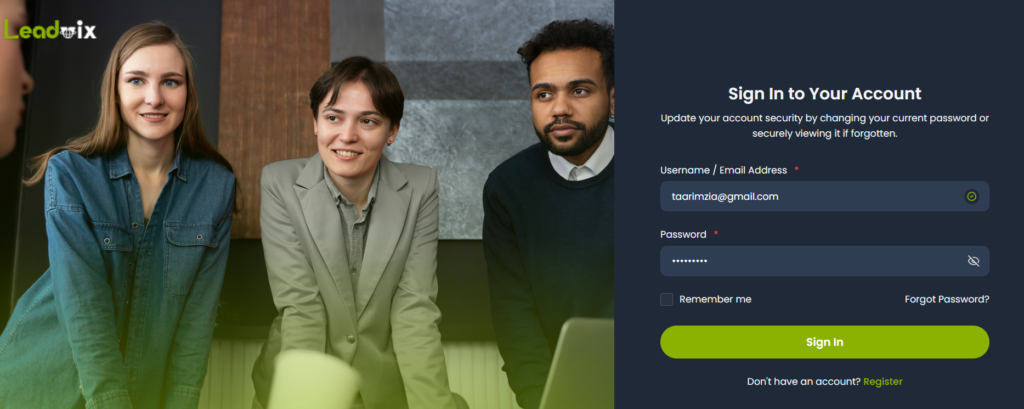
Once your email is verified, go back to the LeadVix site and log in with your email address and password.
Step 6 — What Happens After Login
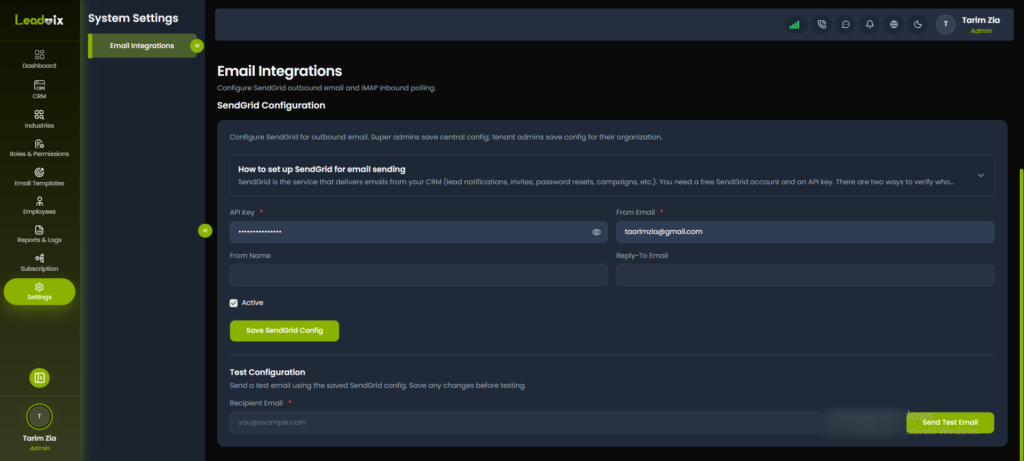
Right after you log in for the first time, LeadVix will just redirect you to the Settings page automatically.
On the left sidebar, you will see the different platform areas like CRM, Industries, Email Templates, Employees, Reports & Logs, and more. But here’s the key point:
You cannot access any of these sections until you complete two required configurations:
- SendGrid — for sending emails
- IMAP — for receiving replies
This isn’t a bug or a restriction. It’s by design. LeadVix requires both these to be linked in order to perform anything of value to you. Imagine they are the engine and the ears of the platform – without them, the platform can’t communicate.
💡Tip: Do not skip or go around this or look for a workaround. It takes anywhere from 15-20 minutes to set up, and only has to be done once. From there on everything is possible and you can start working.
What’s Next?
Now that your account is created and you’re logged in, your next step is connecting SendGrid so LeadVix can start sending emails on your behalf.
Head to Guide 2 — How to Connect SendGrid in the Knowledge Hub to continue your setup.
Frequently Asked Questions (FAQs)
Do I need a paid plan to sign up?
No. You can create a LeadVix account and start setting things up for free, like right away. The paid plans are mainly for higher limits, like more leads , more team members and more campaigns. If you want, you can always upgrade later from the Subscription section.
Can I use a Gmail address to sign up?
Yeah, you can register with any email. But for the smoother experience, specially when you send outreach emails , having a business email on your own domain is strongly recommended. Emails that come from Gmail addresses are more likely to end up in someone’s spam folder, so it’s kind of a thing.
Why does LeadVix take me straight to Settings after login?
Because SendGrid and IMAP need to be connected before the platform can actually send or receive emails . Those are one time setup tasks, and the system just won’t let you skip them by design.
What if I make a mistake during registration?
No big deal. Most stuff can be adjusted later from your profile and company settings once you’re inside. So don’t stress about getting every single detail perfect before you begin.
How long does the full setup take?
Registration takes like 2 minutes. The whole initial setup, including SendGrid , IMAP, General Settings and importing leads , usually takes around 20 to 30 minutes the first time.
What is the Knowledge Base and do I need it right away?
The Knowledge Base is basically a document that trains the AI based on your company info. You don’t need it on day one, but the sooner you upload it , the better the AI replies. There’s also a sample template you can grab inside General Settings to help you start without thinking too much.
Can I invite my team before finishing the setup?
You can add team members from the Employees section, but only after your initial setup is complete. Honestly it’s better to finish SendGrid , IMAP, and General Settings first, then bring your team in.